
I made this notepad holder a little while back, but I wanted to post a tutorial to go with it, so I held off on posting it until now. The tutorial is almost finished, so if you're interested, check back later today!
This holds a 3"x5" notepad, and even has a slot to hold a pen on the side! When I saw these, I thought they were so cute, but looked a little complicated. It really wasn't once I actually did it. Hopefully, you will find the tutorial helpful. I don't think the picture shows it very well, but there is a shadow of glitter around the kitty. It's really pretty when the light hits it!
The girls and I are taking my grandma shopping today (our weekly ritual), so I'll finish up the tutorial when we get back. Remember to check back later! Have a great day! SUPPLIES: Stamps- Pink Cat Studio, Cat Plate #1, alphabet; Ink- Black Fluid Chalk Ink; Paper- DCWV black, pink, olive, lime, watercolor paper; Accessories- Making Memories brads, word window punch, horizontal slot punch, Aquapainter and classic ink pads, Bic pen, ribbon from Michael's, Dazzling Diamonds glitter.
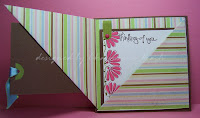
 I wanted to make another of those adorable Trifold Cards-Cami Style. I just think they're so cute. I used the stickers that I received from Mary when we swapped cards. I thought the stickers were adorable, and perfect for this time of year! The sentiment is from one of the Studio G $1 clear stamp sets from Michael's. The stamp actually says "Have a Great Day", but I had to omit the "Have" because it wouldn't fit. I added a little doodling on the left side of the image. The flower on the frame was another sticker from the set I received. In order to get the "double-sided" patterned paper, I cut two pieces (the same size) of different patterns from the DCWV Spring Stack and adhered them back to back. It worked pretty well! I love all these cute little cards that have been the fad lately. They're different, and just so cute! If you haven't made any yet, BEWARE. . .you'll become addicted! :)
  SUPPLIES USED: Stamps- Studio G clear stamp; Ink- Charcoal Fluid Chalk ink; Paper- DCWV Spring Stack, light green, SU Whisper White; Accessories- scalloped oval punch, coluzzle oval template, black marker, Jolee's Boutique stickers, paper piercer, white gel pen, gingham ribbon, slit punch, Aquapainter.




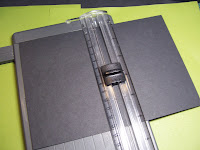
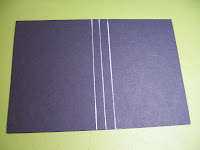


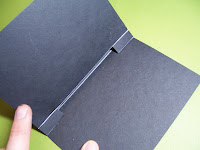

 Step 7
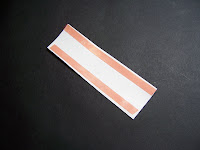

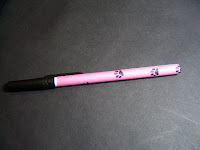


 Step 6
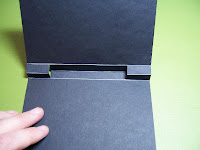
 Step 7 (the sliding cover)


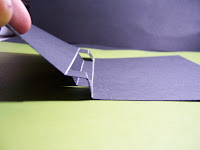
 Step 13
